If you're learning how to clean AC condenser coils and your outdoor AC unit is covered with dust, grass clippings, leaves, or other debris, cleaning the condenser coils can be a useful maintenance step. The condenser coil is the outside part of the system that throws hot air out of the house. As debris accumulates on the coil, the AC has a more difficult time pushing that heat out.
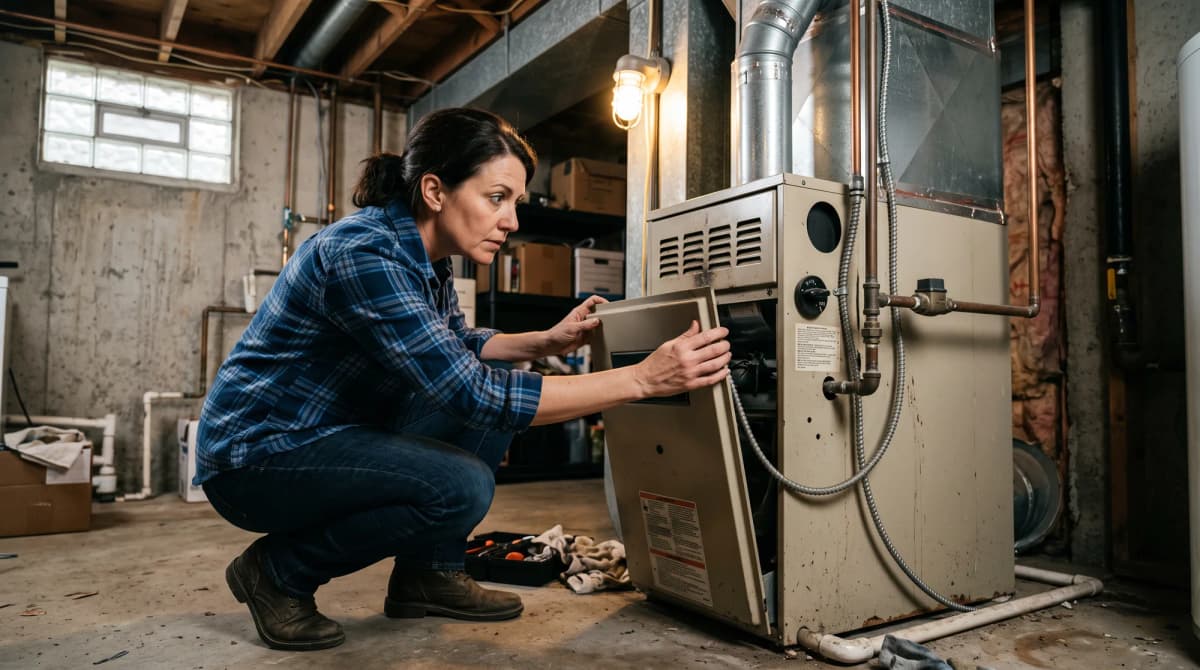
Simple cleaning may be done by the homeowner. Turn off the power, take care not to bend the thin metal fins, and use gentle tools and water. If the coil is filled with a lot of dirt or the access to the coil is difficult, it is safer to have it cleaned by a professional.
Why Clean Condenser Coils Matter
Your outdoor condenser needs steady airflow to release the heat absorbed from inside your home. Dirt and debris on the coil and its fins can block proper airflow. This can reduce heat transfer, making the system work harder and potentially lowering cooling performance.
Coil fins are thin metal pieces surrounding the refrigerant tubing. They provide surface area for heat exchange but can bend easily, so cleaning should be gentle rather than aggressive.
Signs Your Coils Need Cleaning
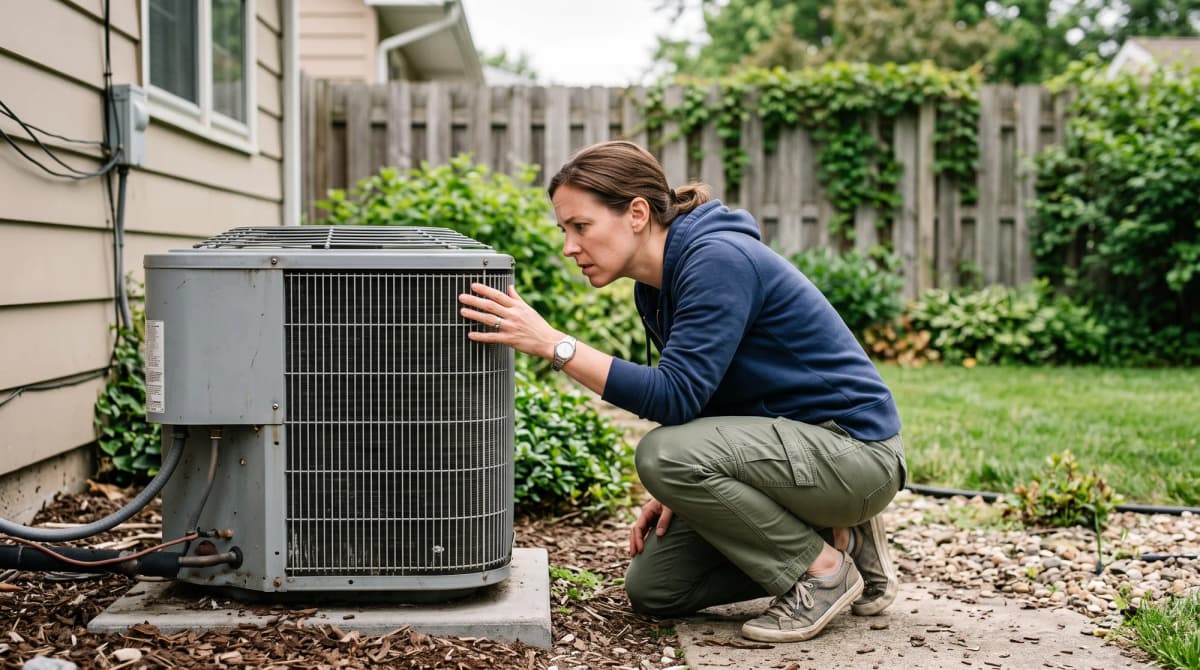
Do an initial visual inspection. If there is a layer of dirt, grass clippings, leaves, lint, or other debris visible over the outside coil, the coil should be cleaned.
Other indicators can be reduced cooling or longer AC running times. Those signs, however, can be associated with several causes, and cleaning may not be a permanent solution.
If you notice ice on the refrigerant lines, repeated shutdowns, unusual noises, or poor cooling, stop troubleshooting. Have the system inspected if the problem continues after basic maintenance.
What You'll Need
For a simple clean, you will need:
- Work gloves
- Safety glasses
- A garden hose with gentle water flow
- Shop vacuum (with soft brush attachment if available)
- A soft brush or fin comb
- Cleaner for HVAC coils (if required)
You do not need a pressure washer. Water pressure can cause fragile fins to bend or break parts. Most HVAC equipment manufacturers advise against using a pressure washer on outdoor condenser coils.
If you use a chemical coil cleaner, always follow the label instructions and the equipment manufacturer's recommendations. A cleaner made for an indoor evaporator coil is not suitable for the outside condenser coil.
Step-by-Step: How to Clean AC Condenser Coils Safely
Step 1: Turn Off Power at the Breaker and the Outdoor Disconnect
Before touching the outdoor unit, turn off the AC at the thermostat, then shut off power at the breaker and outdoor disconnect serving the condenser. This is necessary because the fan and electrical parts can turn on at any time if the power is on.
Do not remove panels or reach inside while the equipment is energized. When you are not sure which breaker or disconnect controls the unit, contact your local HVAC professional for assistance.
Step 2: Clear Debris and the Surrounding Area
Clear up leaves, grass clippings, branches, and other loose debris around the condenser. Remove vegetation that grows up against the unit and allows for air movement.
Never pull on anything that is caught in the coil with extreme force. Use a slow pace and only remove material that can be accessed from the outside.
Step 3: Remove the Top Grille or Fan Assembly If It Comes Off Easily
Some outdoor units allow the top grille and fan assembly to be lifted after removing the proper fasteners. Others are not meant for homeowner access.
Only remove the top if the equipment instructions allow it. Do not force grills or stretch electrical wires. If access is difficult, skip this step and clean accessible surfaces from the outside.
Step 4: Vacuum or Brush Away Loose Debris
Clean the outside of the coil using a shop vacuum with a soft brush attachment to get rid of loose dirt. You can also use a soft brush for debris that is stuck to the fins.
Do not work against the fins. Avoid pressing hard because bent fins can restrict airflow. In some cases, a fin comb that has the proper size can straighten slightly bent areas.
Step 5: Rinse the Coils From the Inside Out
If your unit allows safe access to the inside, gently rinse from the inside outward. This helps push loosened dirt through the coil instead of driving it deeper into the fins.
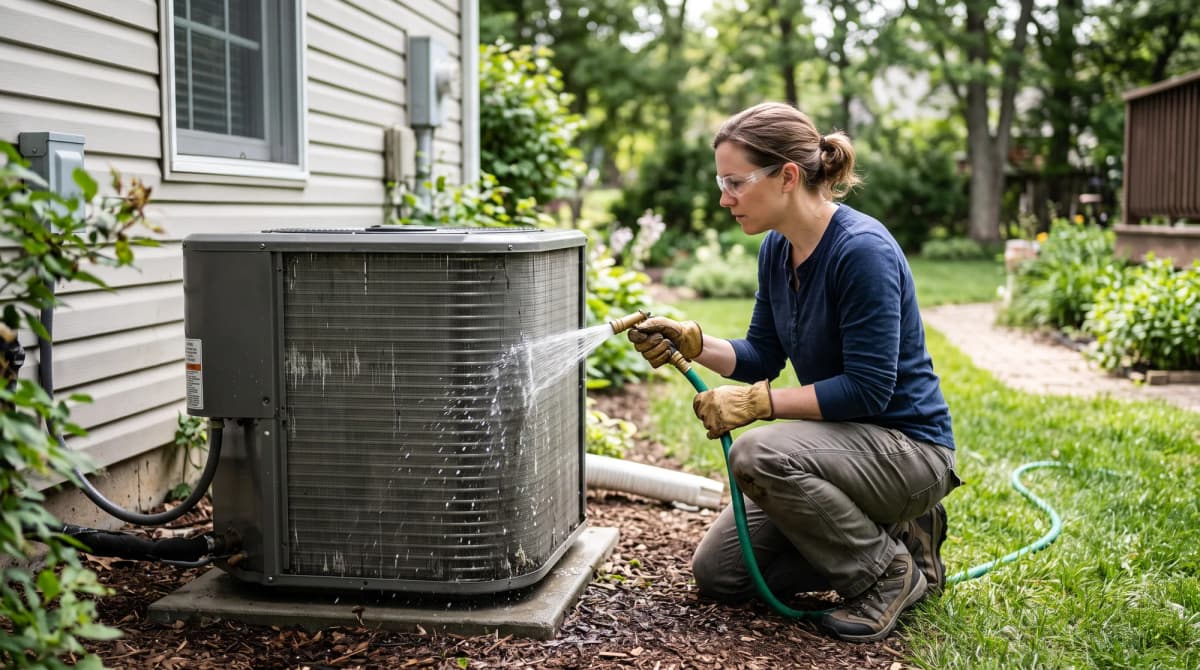
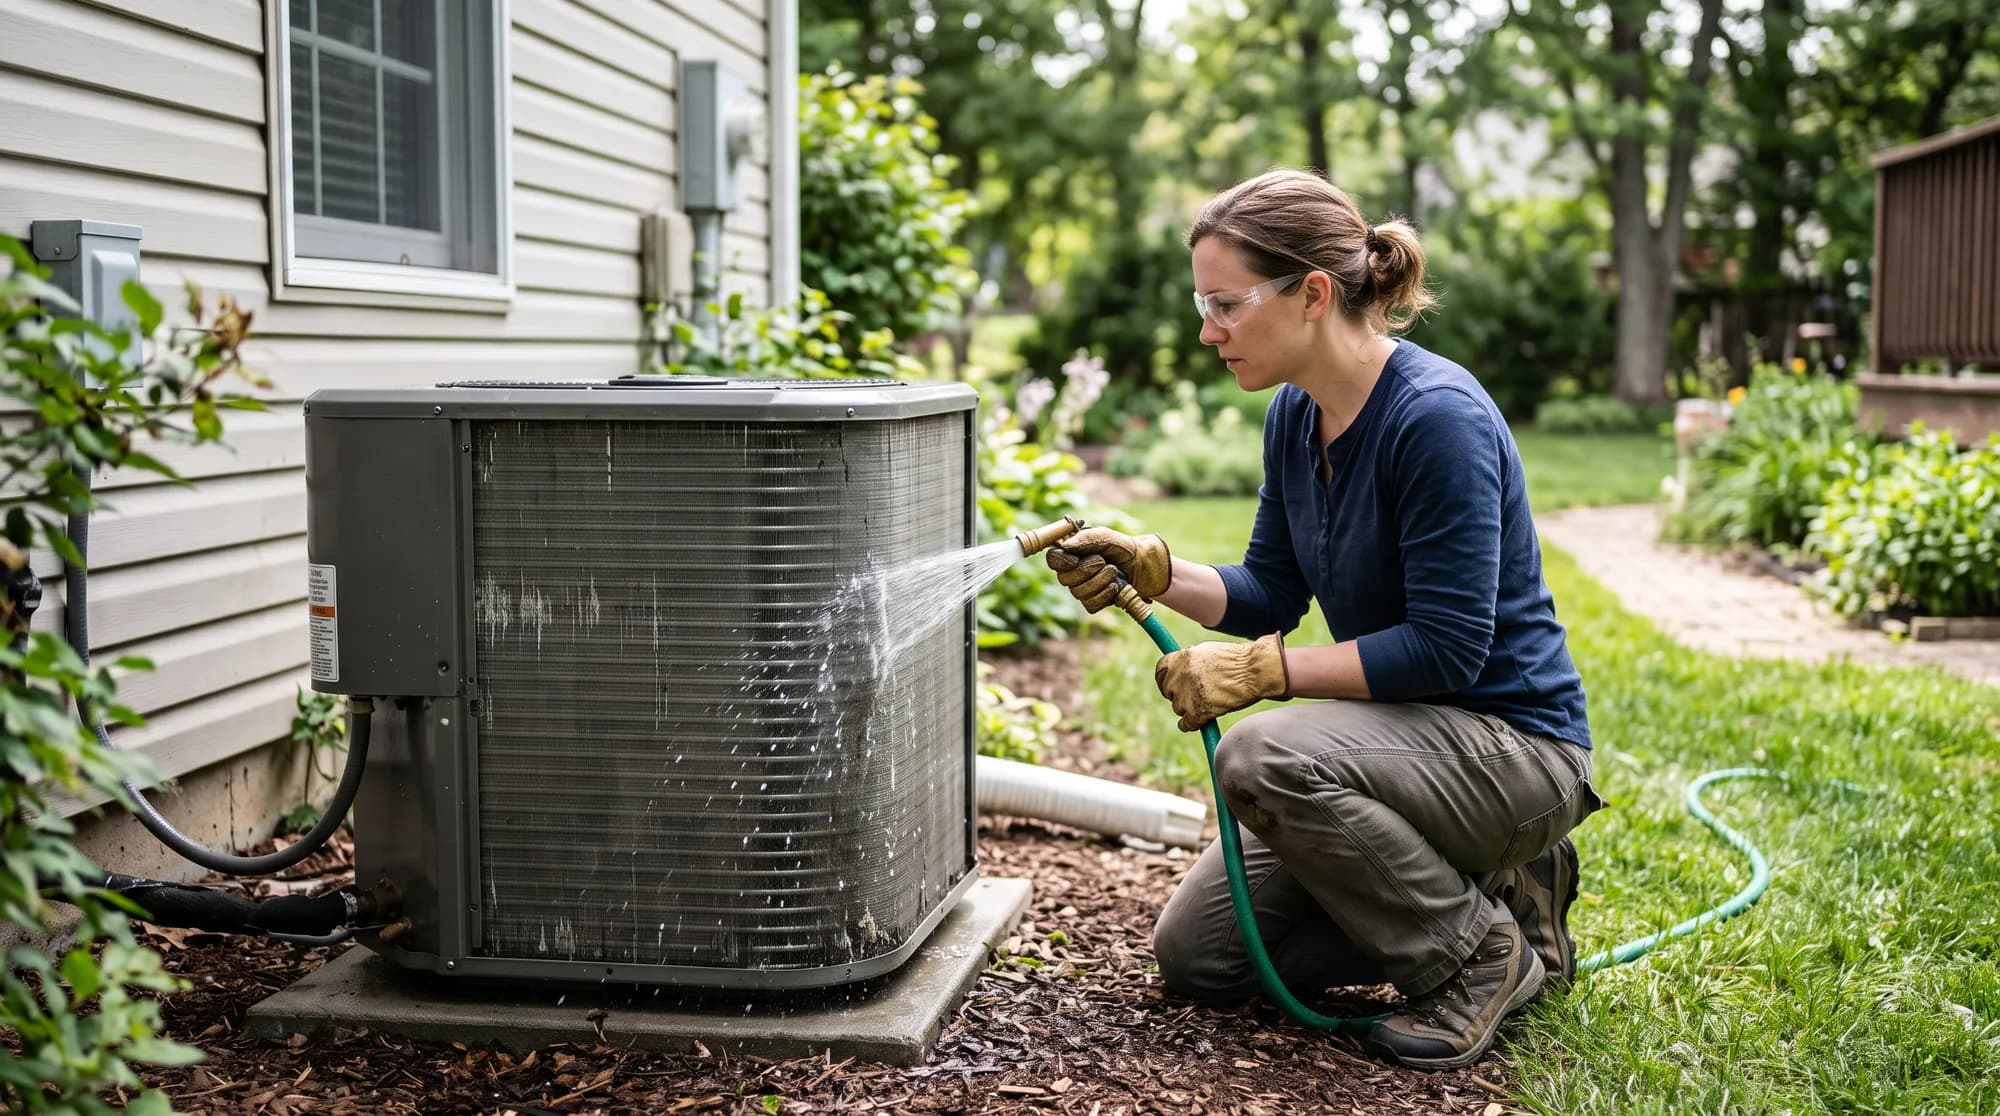
Use a standard garden hose with gentle flow, not a pressure washer. Aim the hose at the fins and coil, not at the unit's electrical compartment or motor terminal box. Even when the power is off, water can enter these areas and contribute to corrosion later.
The goal is to flush away dirt without flattening the fins. Continue until the water runs reasonably clear. If the coil cannot be safely accessed from the inside, follow the equipment manufacturer's cleaning instructions rather than forcing access.
Step 6: Straighten Bent Fins Carefully
While bent fins may hinder airflow, you don't have to make each fin straight. If you have a fin comb that matches the spacing, gently work it through small damaged areas.
Skip this step if the fins are badly crushed, the coil is difficult to reach, or you are unsure how to use the tool. A professional can safely deal with extensive fin damage.
Step 7: Let Everything Dry Before Restoring Power
Allow the outdoor unit to drain and air-dry before restoring power. Reinstall any previously removed components and ensure nothing is loose in the area of the fan or cabinet.
After the unit is dry and it has been safely reassembled, restore power and set the thermostat to its regular setting. Turn the AC on and listen for any unusual sounds. If the AC still isn't cooling properly after a thorough cleaning, the problem likely isn't the coils — it's time to call a professional.
What Not to Do
Do not use a pressure washer, scrape the fins with a hard tool, force the grille off, or work inside while power is connected.
Do not skip the power-off step because cleaning seems quick. Do not use harsh household chemicals or cleaners that are not specifically rated for use in HVAC. Be sure to follow the cleaner's directions since certain cleaners can harm the coil surfaces.
Stop if damaged wiring, refrigerant leaks, heavy corrosion, or debris between several rows are found. Certain coil configurations may need special access and should be performed by a qualified technician.
DIY vs. Professional Coil Cleaning
Light dirt, leaves, and loose debris are typically manageable by a homeowner. Professional cleaning makes more sense when buildup is heavy, maintenance has been neglected, or dirt is trapped where you cannot safely reach it.
A technician will be able to see the coil, clean the hard-to-reach spots, and test for any other issues with cooling. If your AC is still not working properly after cleaning, consider having a professional inspect and maintain the system.
FAQs
How often should AC condenser coils be cleaned?
There's no universal schedule that fits every home. Regularly inspect and clean the outdoor coil if dust or other debris can be seen. Homes in proximity to vegetation, construction, or dusty conditions may require more frequent attention.
Can I use a regular garden hose to clean my outdoor AC unit?
Yes. An outdoor coil can be washed with a garden hose using a slow stream of water after the power is shut off. Do not spray with high pressure, as it may cause bending of fins. If the equipment manual gives different instructions, follow the manufacturer's guidance.
What happens if condenser coils are never cleaned?
Dirt and debris can create an air blockage and disrupt heat transfer. The AC might not be able to expel heat efficiently, which affects the cooling efficiency and puts strain on the system. Cleaning the coil when it gets dirty prevents these airflow and heat-transfer problems from developing.
Can dirty coils damage my AC compressor over time?
Dirty condenser coils will make it harder to remove heat and can lead to higher operating strain. Dirty coils do not necessarily mean the compressor will be ruined, but consistently poor heat transfer can contribute to compressor strain over time. When the outdoor coil is obviously dirty, routine inspection and cleaning are practical measures that can be taken to prevent the problem.